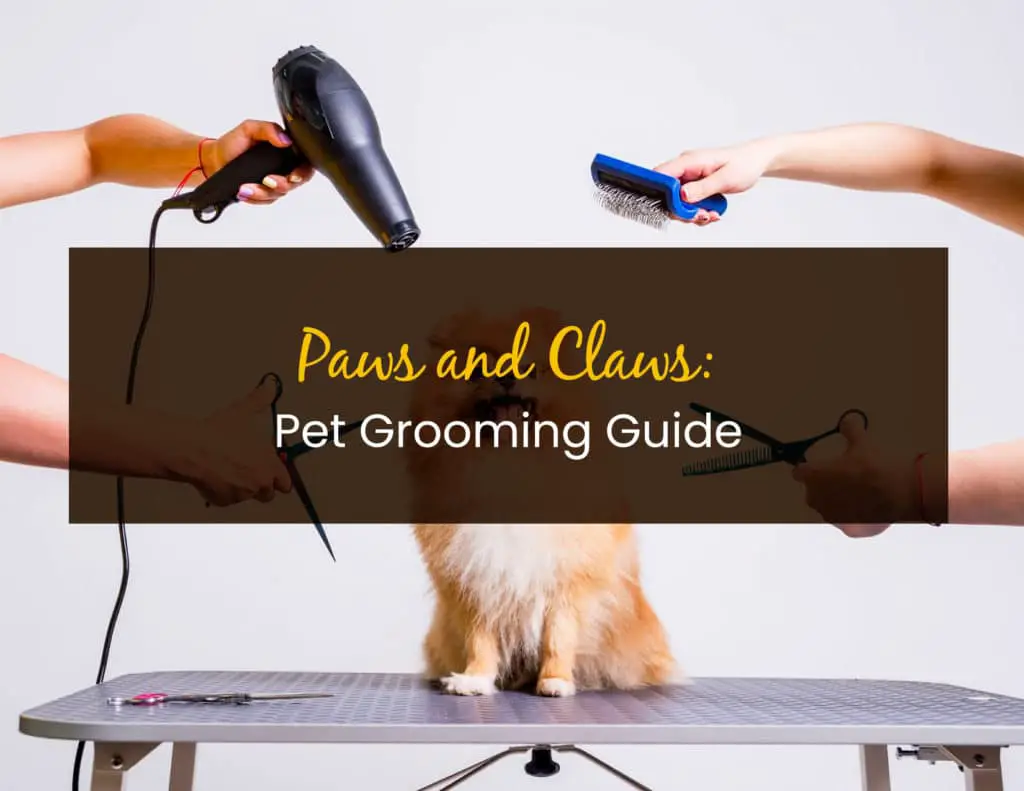
One of the many things you will bestow upon later down the road is grooming your pet when having a dog or cat. For cats they mostly self-groom, so we will not be covering that today. On the other hand, they may not even understand what the term “being clean” means with dogs. This is especially true when your fur baby loves to roll around in the mud or get their coats caught up in a bush and comes back to you with stickers all over their coats!
We will be going through a guide on how you can groom your pet thoroughly and take you through a step-by-step process. This is especially good whenever you cannot afford to take your pet to the groomers every 6 to 8 weeks and want them to continue looking spiff and span or wish to get rid of that winter coat, so your puppy does not look so ragged or feel so hot. So without further ado, let us get started on how to groom your pet!
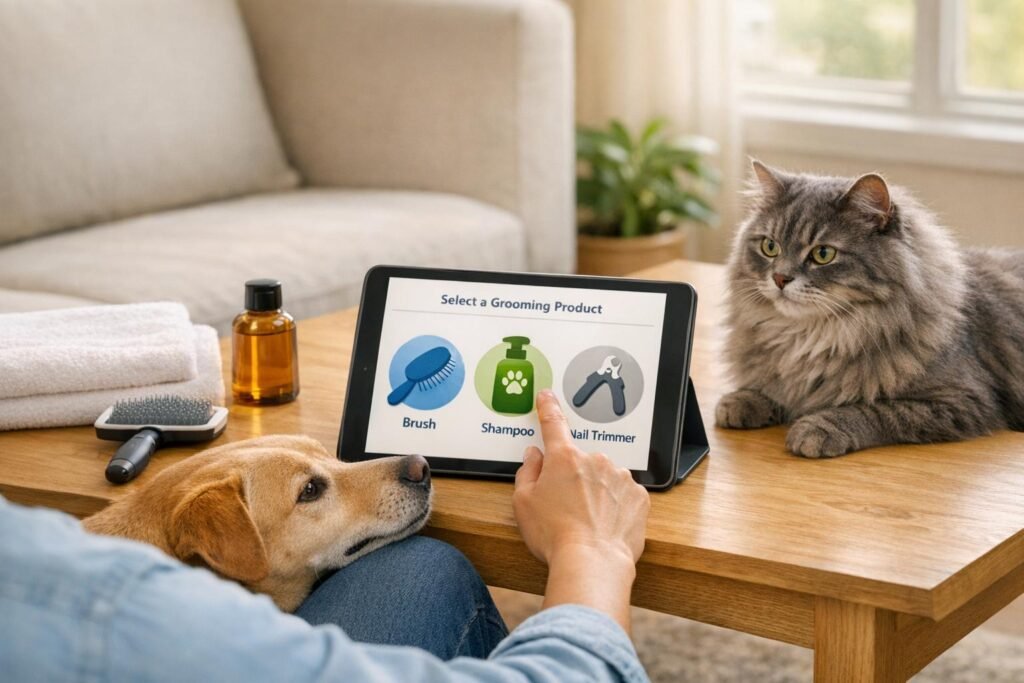
Step 1: Prepare Your Supplies
Being prepared before you initially start is a must. You do not want to be in the middle of cutting your dog’s hair only to find that you do not have a comb to help keep it nice and neat, do you? Make sure all of your supplies are accessible to you. Not only will it allow you to become prepared, but it also keeps your dog calm too.
Here is a list of things you will need for full grooming:
- Comb
- Brush
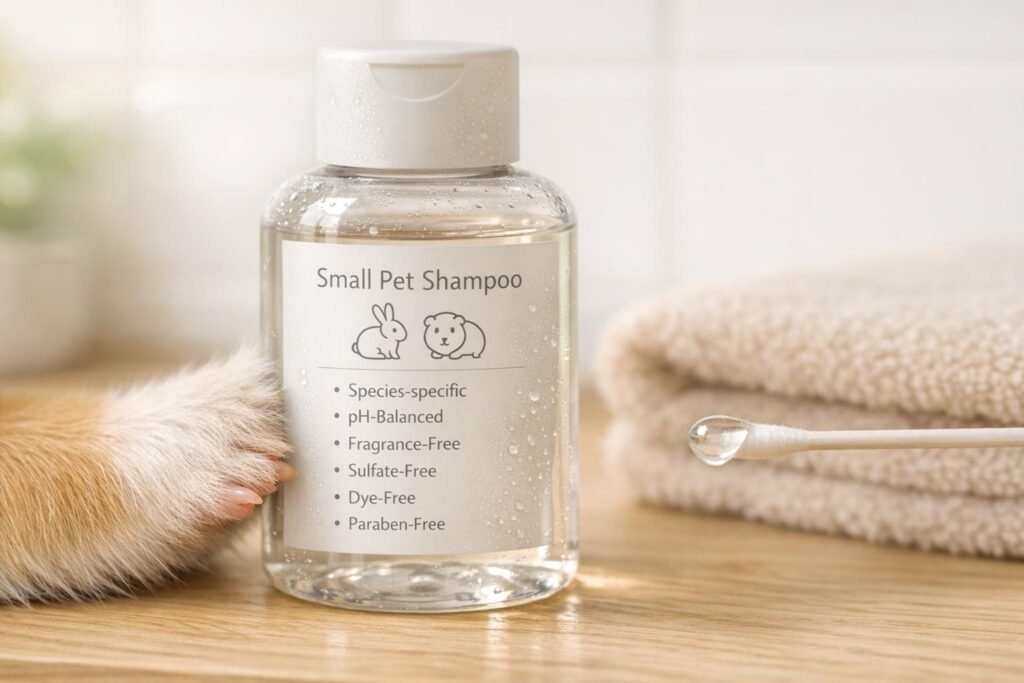
- Shampoo
- Conditioner
- Towels (we recommend at least two)
- Hairdryer
- Toothbrush & toothpaste
- Doggy nail clippers
- Styptic powder
- Ear solution
- Cotton swabs
- Detangling solution for dogs with matted fur
- Electric dog clippers (for cutting their hair)
Step 2: Brush Their Fur

A good brush will allow all of the dirt to come off your pup and enable them to shed fur. Overall, brushing your dog’s hair may be all you wish to do, and if that is the case, then you are all done! However, you will always need to brush their coats regularly to keep them healthy and get them used to the grooming process. Making sure they have regular brushing is also an excellent way to bond with your dog and helps them to trust you even more so than they do currently. Your dog will also learn to stay still while you are working.
Step 3: Brush Your Dog’s Teeth

You are going to use toothpaste and toothbrushes specifically designed for dogs. You mustn’t use ones that are made for humans, as this will be a lot smaller and softer for your dog’s teeth. Many experts mention brushing their teeth frequently, as it can prevent serious dental diseases.
Step 4: Trim Your Fur Babies Nails
Clipping your dog’s nails can be tricky at times, especially if you have never done it before, so it is essential to do so in a quick manner. This also will prevent cracked nails from occurring, which can happen if you go too slowly.
However, you will be careful not to clip the live part of the nail, which is called the “quick.” You will tell what it looks like by appearing pink on white nails and black dots on the tip when you are too close to the quick. If you accidentally clip the quick, it will then bleed, so you will have to apply styptic powder then to stop it.
Step 5: Provide a Bath

It is important not to shampoo your dog too often due to not wanting their skin to dry up, but providing one every 4 to 6 weeks is always an excellent option. You can always bathe them outside or inside wherever you feel most comfortable. Always make sure you talk to your pup in a positive and upbeat way. This way, it will encourage your dog not to be so scared if they have that kind of behavior.
You will thoroughly wet and lather their fur from head to tail using a small amount of dog shampoo. Then you will be rinsing them with a handheld shower attachment or large cup. Make sure you get every part of shampoo off of their fur and avoid getting water in his or her ears, as this could potentially cause an infection.
Step 6: Clean the Ears
Using the ear solution and a cotton swab, make sure to gently clean in and around your puppy’s ears. Always dry them thoroughly to prevent bacteria growth.
Step 7: Dry & Brush Your Dog’s Fur
You are going to be brushing your dog’s hair yet again to secure the bond between the two of you. Odds are, your dog will either hate the bath or love it, but if they do not like it, then you can hum them a song or speak to them on how great of a job they have done this so far.
For short-haired dogs, you may only be able to get away with a simple towel dry, but longer-haired dogs may need a hairdryer on no heat or get a dog hair dryer. You will then brush their hair and apply a leave-in conditioner if you desire.
Step 8: Clip Their Coat

Lastly, if you need to trim your dog’s nails down, then make sure to use clippers specifically designed for dogs, as human hair clippers are not strong enough for this. You will be using a guard with enough length to keep you from accidentally cutting their sensitive skin.
How to Cut My Dog’s Hair Properly
Now that you know the basics or the initial preparation of grooming your pup, it is essential to understand how to cut their hair properly. By the end of this article, you will be a pro at it and will never feel the need to take your pet to the groomers again! At least, that is if you have not already.
In the meantime, here are things to consider before you start the cutting process:
- Research what your dog should look like: This means that you do not want to have your dog looking like another breed that they are not.
- Understand your animal’s coat: Look at every aspect of their coats, such as where it is most extended, what will be the most complex, and where you should avoid (whiskers, nipples, gentiles, etc.)
- Clippers or scissors: See to it that you know how confident you are before starting off with scissors. If you are just beginning, then clippers may be the best option, whilst if you feel that you can handle scissors, then you can do so with that. You will also need to consider how long the coat is and the length it NEEDS to be.
- For clippers: Ensure you are choosing the quietest one possible not to startle your dog. You will also want it to be sharp and well-oiled before using (clipper oil or lightweight carrier oil.)
- For scissors: Make sure they are sharp and suitable for the length that is needed for your dog. It is important to note that you will need smaller blunt-ended scissors for trimming more sensitive areas.
Cutting Your Dog’s Hair With Clippers
Having clippers are ideal for dogs who need a huge makeover or if they are short-haired. Also, as mentioned above, if you are nervous or just starting out, these are the best options for you to have available. It will not only be good for nervousness but shaking hands as well, especially if you have a snap-on guide comb.
Here is a step-by-step process on how to get a good finish for your fur babies hair:
- Make sure you hold your dog to ensure they are not moving around everywhere.
- Start trimming at the back of the neck down to their bottoms.
- Never push your clipper too fast, as it will leave lines.
- Always clip with the growth of the hair to give a smooth and natural finish. If you go against the growth of the hair, it would be an extensive line and will wind up looking very awkward on your dog.
- Once you are finished with one side, you will then trim the other side of their hair.
- For their bellies, you will want to get it really tight. You can go against the growth of the hair for this part.
- If you notice the clipper is not picking up enough coat, you can always brush their hair back to pick up more hair.
Here is a video showing what we have described above:
Cutting Your Dog’s Hair With Scissors
Lastly, we will be discussing how to cut your dog’s hair with scissors. Clipping your dog’s coat with scissors is especially good for dogs with longer hair due to clippers not being able to get them. The cutting process would be the same usually, but there are some key differences.
1. Type of scissors you will need:
- Straight grooming scissors for basic cutting
- Curved scissors for rounding off layers of hair
- Thinning shears for problematic areas & to provide your dog’s coat a natural finish
- Rounded tip scissors for delicate areas
2. Decide how short you wish to cut your dog’s fur before you cut it, and use your fingers to guide the process to create a consistent finish.
3. Start at the front of their bodies, then work your way down to the back of your dog. Make sure to leave complex and sensitive areas for last.
4. Use thinning shears for thicker areas and that are prone to matting more.
5. Make sure to work slowly and gently. Avoid holding the scissors at a steep angle not to point them to the skin.
6. If you wish to cut the coat short and are not entirely sure how close to your skin, then use a comb to measure the length and provide a safety barrier between the two.
Final Thought
Congratulations! You have just finished grooming your dog. We hope this has been a helpful article and wish you the best of luck in grooming them in the future. Just think: you now have money to get your dog a bunch of treats for being such a great pup while you have groomed them! Just kidding. However, it is an excellent idea to provide them with a treat still after the process is over!