
Your pet’s habitat needs regular deep cleaning to prevent odors, bacteria, and health risks. Daily spot cleaning helps, but only a thorough cleaning removes harmful buildup like urine residue, droppings, and decaying food. Here’s how to deep clean effectively:
- Prepare Supplies: Use gloves, brushes, sponges, pet-safe soap, and disinfectants. Avoid harsh chemicals like bleach or ammonia.
- Remove Pet and Items: Relocate your pet to a safe space, clear bedding, and wash accessories.
- Wash and Disinfect: Scrub surfaces with soapy water, disinfect, and rinse thoroughly.
- Dry and Reassemble: Ensure all items are completely dry before setting up fresh bedding and returning your pet.
Daily waste removal and proper ventilation between cleanings can reduce odors. Tailor cleaning routines to your pet’s species for optimal results.
How to Clean a Small Pet’s Cage
Gathering Your Cleaning Supplies
Starting a deep clean the right way means having all your supplies ready to go. This not only saves time but also ensures the process is smooth and safe for your pet. When everything you need is within reach, you can clean efficiently and have your pet back in a fresh, dry home in no time. Here’s a breakdown of the essential tools and products you’ll need.
Tools You’ll Need
First, grab a pair of gloves to protect your hands from waste and cleaning agents. You’ll also need a bucket for mixing soapy water and rinsing items, along with a variety of brushes: a medium-sized brush for larger surfaces like cage bases and a smaller brush (an old toothbrush works great) for those hard-to-reach spots. Sponges are excellent for scrubbing smooth plastic or glass surfaces, while paper towels or washable rags are handy for drying surfaces and managing small spills. Don’t forget a trash bag or lined bin to dispose of soiled bedding and litter.
Make sure to set up a secure temporary space for your pet while you clean. For tougher messes, a plastic scraper or even an old credit card can help lift dried residue from plastic surfaces without causing scratches. A small handheld vacuum is also useful for picking up loose hay, bedding, or other debris around the cage before you start washing. If you’re using disinfectants, consider wearing goggles and a mask for added safety.
Pet-Safe Cleaning Products
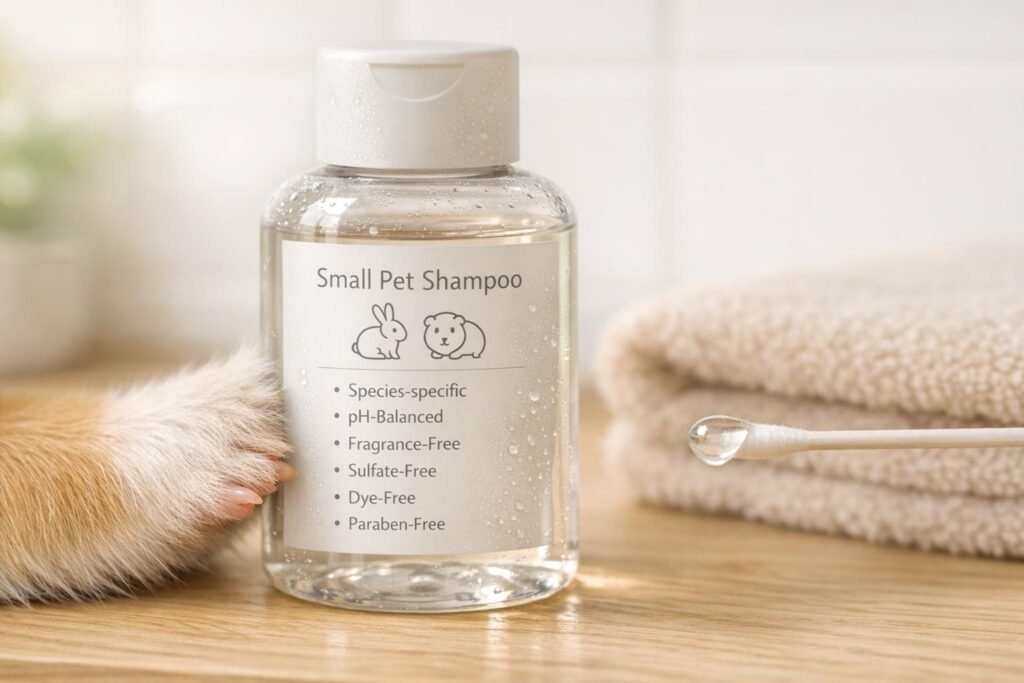
Once your tools are ready, it’s time to choose cleaning products that are safe for your pet. A simple solution of mild, unscented dish soap (around $3–$6 per bottle) mixed with warm water works well for removing grease and grime. This is your go-to option for cleaning cages, bowls, toys, and accessories – as long as you rinse everything thoroughly afterward.
For tackling odors and urine stains, enzyme-based cleaners are a great choice. These products break down the source of the smell instead of just covering it up, and they typically cost between $10 and $25 per bottle. Alternatively, a mix of white vinegar and water (equal parts) is effective for dissolving mineral deposits and urine residue on plastic and metal surfaces. Just be sure to rinse the area thoroughly after using vinegar. Once everything is clean, finish with a pet-safe disinfectant, following the instructions carefully.
Avoid using cleaners with ammonia or bleach, as their fumes and residues can be harmful to your pet. Similarly, steer clear of phenolic disinfectants (often brown or pine-scented), perfumed household cleaners, scented air fresheners, and essential oils, as these can irritate your pet’s respiratory system or even cause toxicity. And remember – never mix bleach with ammonia, as this can create a dangerous toxic gas.
At Little Pet Corner, we always recommend sticking to products specifically designed for pets. This helps ensure your cleaning routine is safe, effective, and worry-free for both you and your furry friend.
Step-by-Step Deep Cleaning Process

4-Step Deep Cleaning Process for Small Animal Habitats
With your cleaning supplies ready, it’s time to dive into the cleaning process. This involves four key stages: removing your pet and all contents, washing with soap and water, disinfecting, and finally, rinsing and drying everything before putting it all back together. Each step is crucial and builds on the previous one, so following them in order is essential for ensuring your pet’s habitat is clean and safe.
Step 1: Remove Your Pet and All Habitat Contents
Start by relocating your pet to a secure temporary space, such as a pet carrier or exercise pen. Make sure this area is stocked with food, water, and familiar bedding to keep your pet comfortable. Place the temporary setup in a quiet spot, away from the cleaning zone, to protect your pet from fumes or dust.
Next, clear out the habitat. Remove all bedding, litter, substrate, and disposable liners, and bag them for disposal. Take out food bowls, water bottles, toys, hideaways, wheels, perches, tunnels, and any other accessories. Set these aside for washing. Once the habitat is completely empty, move it to a well-ventilated area like a garage, bathroom, or patio where you can clean without worrying about fumes or mess affecting your pet.
Step 2: Wash and Scrub with Soap and Water
Fill a bucket with hot water and a pet-safe detergent. Use a stiff brush to scrub all surfaces of the habitat, including the bottom tray, bars, shelves, and walls. For heavily soiled areas, let them soak for 10–20 minutes to loosen debris. Use an old toothbrush to clean tight spots like corners, cracks, wire junctions, and textured surfaces.
While the cage is soaking, tackle the smaller accessories. Place items like dishes, toys, hideaways, wheels, and litter boxes in a sink filled with hot, soapy water. Let them soak to loosen dirt, and then scrub each item thoroughly with a brush or sponge. For larger items, a pressure nozzle hose can help dislodge stubborn grime. Keep in mind, this step removes dirt and organic material but doesn’t kill pathogens – that part comes next. After scrubbing, move on to disinfecting.
Step 3: Disinfect All Surfaces
Once you’ve rinsed off all the soap, apply a veterinarian-recommended disinfectant. Look for products specifically designed for animal habitats, such as Virkon, Biosentry, or properly diluted bleach (if it’s safe for your pet). Apply the disinfectant to all surfaces, ensuring they remain visibly wet for at least 10 minutes. This contact time is crucial for eliminating bacteria, viruses, and other harmful pathogens.
Step 4: Rinse and Dry Completely
Rinsing thoroughly is a must, as even small traces of soap or disinfectant can irritate your pet’s skin, paws, or respiratory system. Use clean water to rinse all surfaces until no residue remains. If you used bleach, rinse everything twice to be extra cautious. A hose or running water can make this step quicker and more effective, especially for habitats used by gnawing animals like rodents who might chew on surfaces.
After rinsing, make sure all items are completely dry before reassembling the habitat. You can let them air dry or use clean towels to speed up the process. Any trapped moisture under bedding can lead to mold and bacteria growth, so don’t rush this step. Once everything is dry, add fresh bedding, return the clean accessories, and move your pet back into their refreshed home. This ensures a comfortable and safe environment for your furry friend.
sbb-itb-e212914
Setting Up the Clean Habitat and Preventing Odors
Once the habitat is thoroughly cleaned, disinfected, and dried, it’s time to create a fresh, welcoming environment for your pet while keeping odors at bay.
Adding Fresh Bedding and Accessories
Start by layering 2–3 inches of dust-free bedding that suits your pet’s needs. For instance, hamsters and gerbils do well with paper-based bedding, guinea pigs and rabbits thrive with paper pellets or fleece, and birds benefit from cage liner paper. This helps protect their respiratory health while providing a comfortable base.
Reintroduce sanitized accessories only after they’re completely dry. Including one familiar, clean item can help your pet adjust to the refreshed setup. Arrange food bowls away from waste areas and position water bottles at an easy-to-reach height. This thoughtful arrangement not only ensures cleanliness but also makes the habitat functional and comfortable for your pet.
How to Prevent Odors Between Cleanings
Keeping your pet’s space fresh doesn’t require a lot of time – just a few simple daily and weekly habits make a big difference. Spend five minutes each day removing solid waste, tossing out soiled bedding, and washing food and water dishes. This prevents ammonia buildup and keeps the habitat smelling neutral.
For deeper odor control, use enzyme-based cleaners weekly. These break down urine and feces proteins at the source. Just spray the cleaner on bedding or surfaces and let it air dry – no rinsing required. Unlike air fresheners that only mask smells and can irritate your pet’s airways, enzyme cleaners eliminate odors effectively and safely.
Proper ventilation is also key to managing odors. Place the habitat in a well-ventilated area, avoiding direct heat or drafts. Steady airflow helps maintain a neutral smell without causing uncomfortable temperature changes. If space allows, consider a larger habitat – waste disperses more in bigger enclosures, reducing odor buildup and the frequency of deep cleanings.
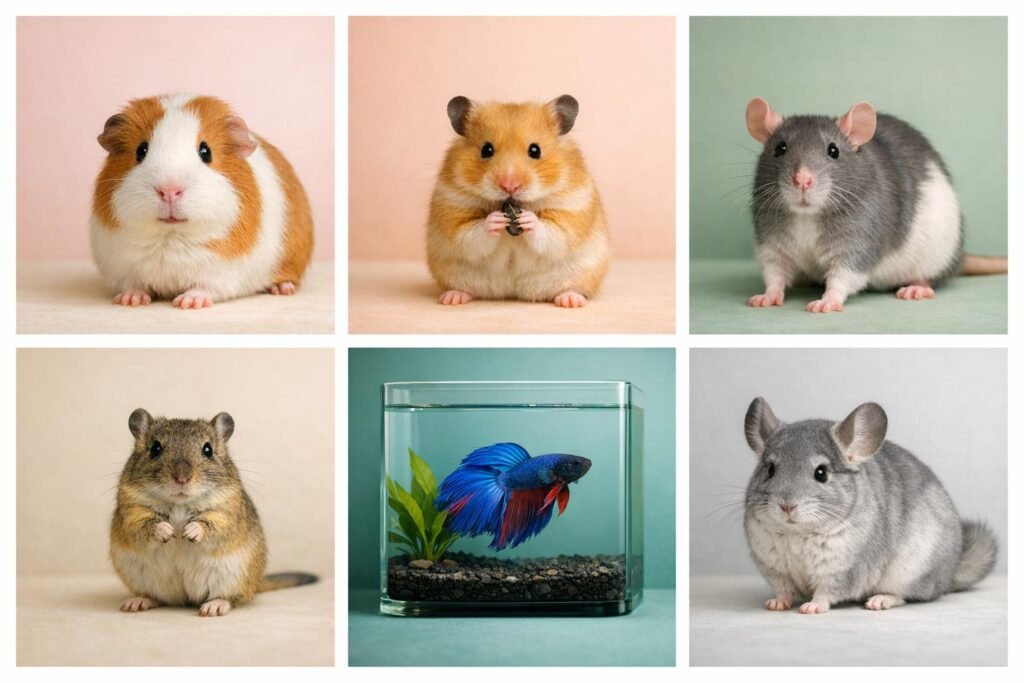
Cleaning Guidelines for Different Small Animals
Caring for small pets means understanding that each species has unique cleaning needs. Once you’ve got the basics of deep cleaning down, it’s time to adapt your routine to match the specific requirements of your furry or feathered friend.
Cleaning Habitats for Rodents, Rabbits, and Small Mammals
For rodents, gentle, pet-safe cleaners are a must, especially when tackling tricky areas where debris tends to collect. Hamsters, gerbils, and mice need daily attention to remove soiled bedding and droppings, with a full deep clean about once a week. Start by relocating your pet to a secure carrier, then discard all soiled bedding and wash the habitat components with hot, soapy water. Tight corners and crevices deserve extra care since debris often hides there. Rinse everything thoroughly to avoid leaving behind any residue that could irritate their sensitive respiratory systems.
When disinfecting, use a pet-safe solution like diluted bleach (1:10) or another safe alternative. Let the disinfectant sit for 10 minutes, then rinse several times to ensure no traces remain. Avoid using Lysol or phenol-based cleaners, as these are toxic to rodents. If your pet has been sick, consider discarding porous items like wood or wicker that might harbor bacteria. Plastic dishes can be cleaned in the dishwasher for added convenience.
Guinea pigs and rabbits, on the other hand, produce more waste, so their habitats require daily removal of wet bedding and soiled hay. Deep cleaning should happen weekly – or more often if the cage is small. Pay extra attention to litter boxes and high-traffic corners where ammonia odors from urine can build up. If you use fleece liners, wash them weekly in hot water with a mild detergent, and ensure they’re completely dry before placing them back in the cage. These animals are particularly sensitive to harsh chemicals, so stick with unscented soap or diluted vinegar and hydrogen peroxide solutions for cleaning.
How to Deep Clean Bird Cages
Birds require an even gentler approach due to their highly sensitive respiratory systems. Fragrance-free and mild cleaning solutions are essential, as aerosols, strong bleach fumes, and scented cleaners can be harmful. Begin with daily maintenance: change the cage liner paper to remove droppings and food debris, and wash food and water dishes in hot, soapy water.
For weekly cleaning, move your bird to a safe travel cage, and remove all perches, toys, and the grate. Wash the cage bars, tray, and grate with hot, soapy water, then rinse and dry thoroughly. Use a bird-safe disinfectant on perches and toys, allowing a 10-minute contact time before rinsing and drying them in sunlight. Replace wooden perches or toys if they’ve become porous or contaminated, as bacteria can seep into the wood. A full disassembly and deep clean of the cage should be done monthly or as needed, ensuring every surface is completely dry before reintroducing your bird.
Conclusion
Maintaining a clean habitat for your small pet does more than just tackle unpleasant odors – it creates a healthier space that helps prevent illness and promotes your pet’s overall well-being. By following a thorough cleaning process – removing your pet and all habitat items, scrubbing with soap and water, disinfecting with pet-safe solutions like vinegar, and ensuring everything is rinsed and dried – you can significantly cut down on harmful bacteria, parasites, and other pathogens.
To keep things manageable, establish a consistent cleaning routine. For rodents and birds, aim for weekly deep cleans combined with daily spot cleaning to control ammonia levels and manage waste. For rabbits and guinea pigs, regularly removing soiled bedding makes those deeper cleans easier and more effective.
A few extra tips can take your cleaning routine to the next level. For example, sun-drying habitat items after rinsing provides natural sanitization thanks to ultraviolet light, which helps reduce lingering microorganisms. And if your pet has been unwell, replacing porous materials can prevent bacteria from lingering.
A clean habitat means a healthier, happier pet and a safer home for everyone. By sticking to a regular cleaning schedule, you’re not just minimizing health risks – you’re also creating a comfortable, welcoming environment for your small companion.
FAQs
How often should I deep clean my small pet’s habitat?
For the well-being and comfort of your small pet, aim to give their habitat a thorough cleaning once a week or, at the very least, every two weeks. This routine helps control odors and reduces the risk of harmful bacteria developing.
If you notice that your pet’s enclosure tends to get messy more often, daily spot cleaning can help maintain a cleaner environment. You can also adjust the deep cleaning frequency based on their needs. Just make sure to use cleaning products that are safe for pets to protect their health.
What cleaning products are safe to use for my pet’s habitat?
When tidying up your pet’s habitat, it’s essential to stick to pet-safe, non-toxic cleaning products to keep them healthy. Good choices include diluted white vinegar, baking soda, or cleaning solutions clearly marked as safe for pets. These options work well to eliminate odors and sanitize without putting your pet at risk from harmful chemicals.
Steer clear of harsh cleaners like bleach, ammonia, or strong disinfectants, as these can be harmful, especially to small animals. After cleaning, make sure to rinse everything thoroughly with water to remove any leftover residue. Allow the habitat to dry completely before placing your pet back inside.
What can I do to keep my pet’s habitat smelling fresh between deep cleanings?
To keep your pet’s living space smelling fresh between deep cleanings, here are a few simple tips:
- Clean up daily: Remove soiled bedding, waste, and uneaten food every day to stop odors from accumulating.
- Allow for good airflow: Ensure the habitat has proper ventilation to prevent odors from getting trapped.
- Try safe odor control: Sprinkle a little baking soda beneath the bedding to help absorb smells, but make sure it’s safely out of your pet’s reach.
Sticking to these small daily habits can make a big difference in keeping your pet’s home fresh and pleasant.